本文最后更新于 3616 天前,其中的信息可能已经有所发展或是发生改变。
昨天玩了玩18b20,然后今天想起来还有两块从车上扣下来的12864小OLED屏,所以准备研究下
然后发现这个库依旧依旧有人写好了23333
(怪不得树莓那么多人玩)
以下教程不完全参考自(毕竟理论和实际会有出入233):http://www.dfrobot.com.cn/community/thread-13396-1-1.html
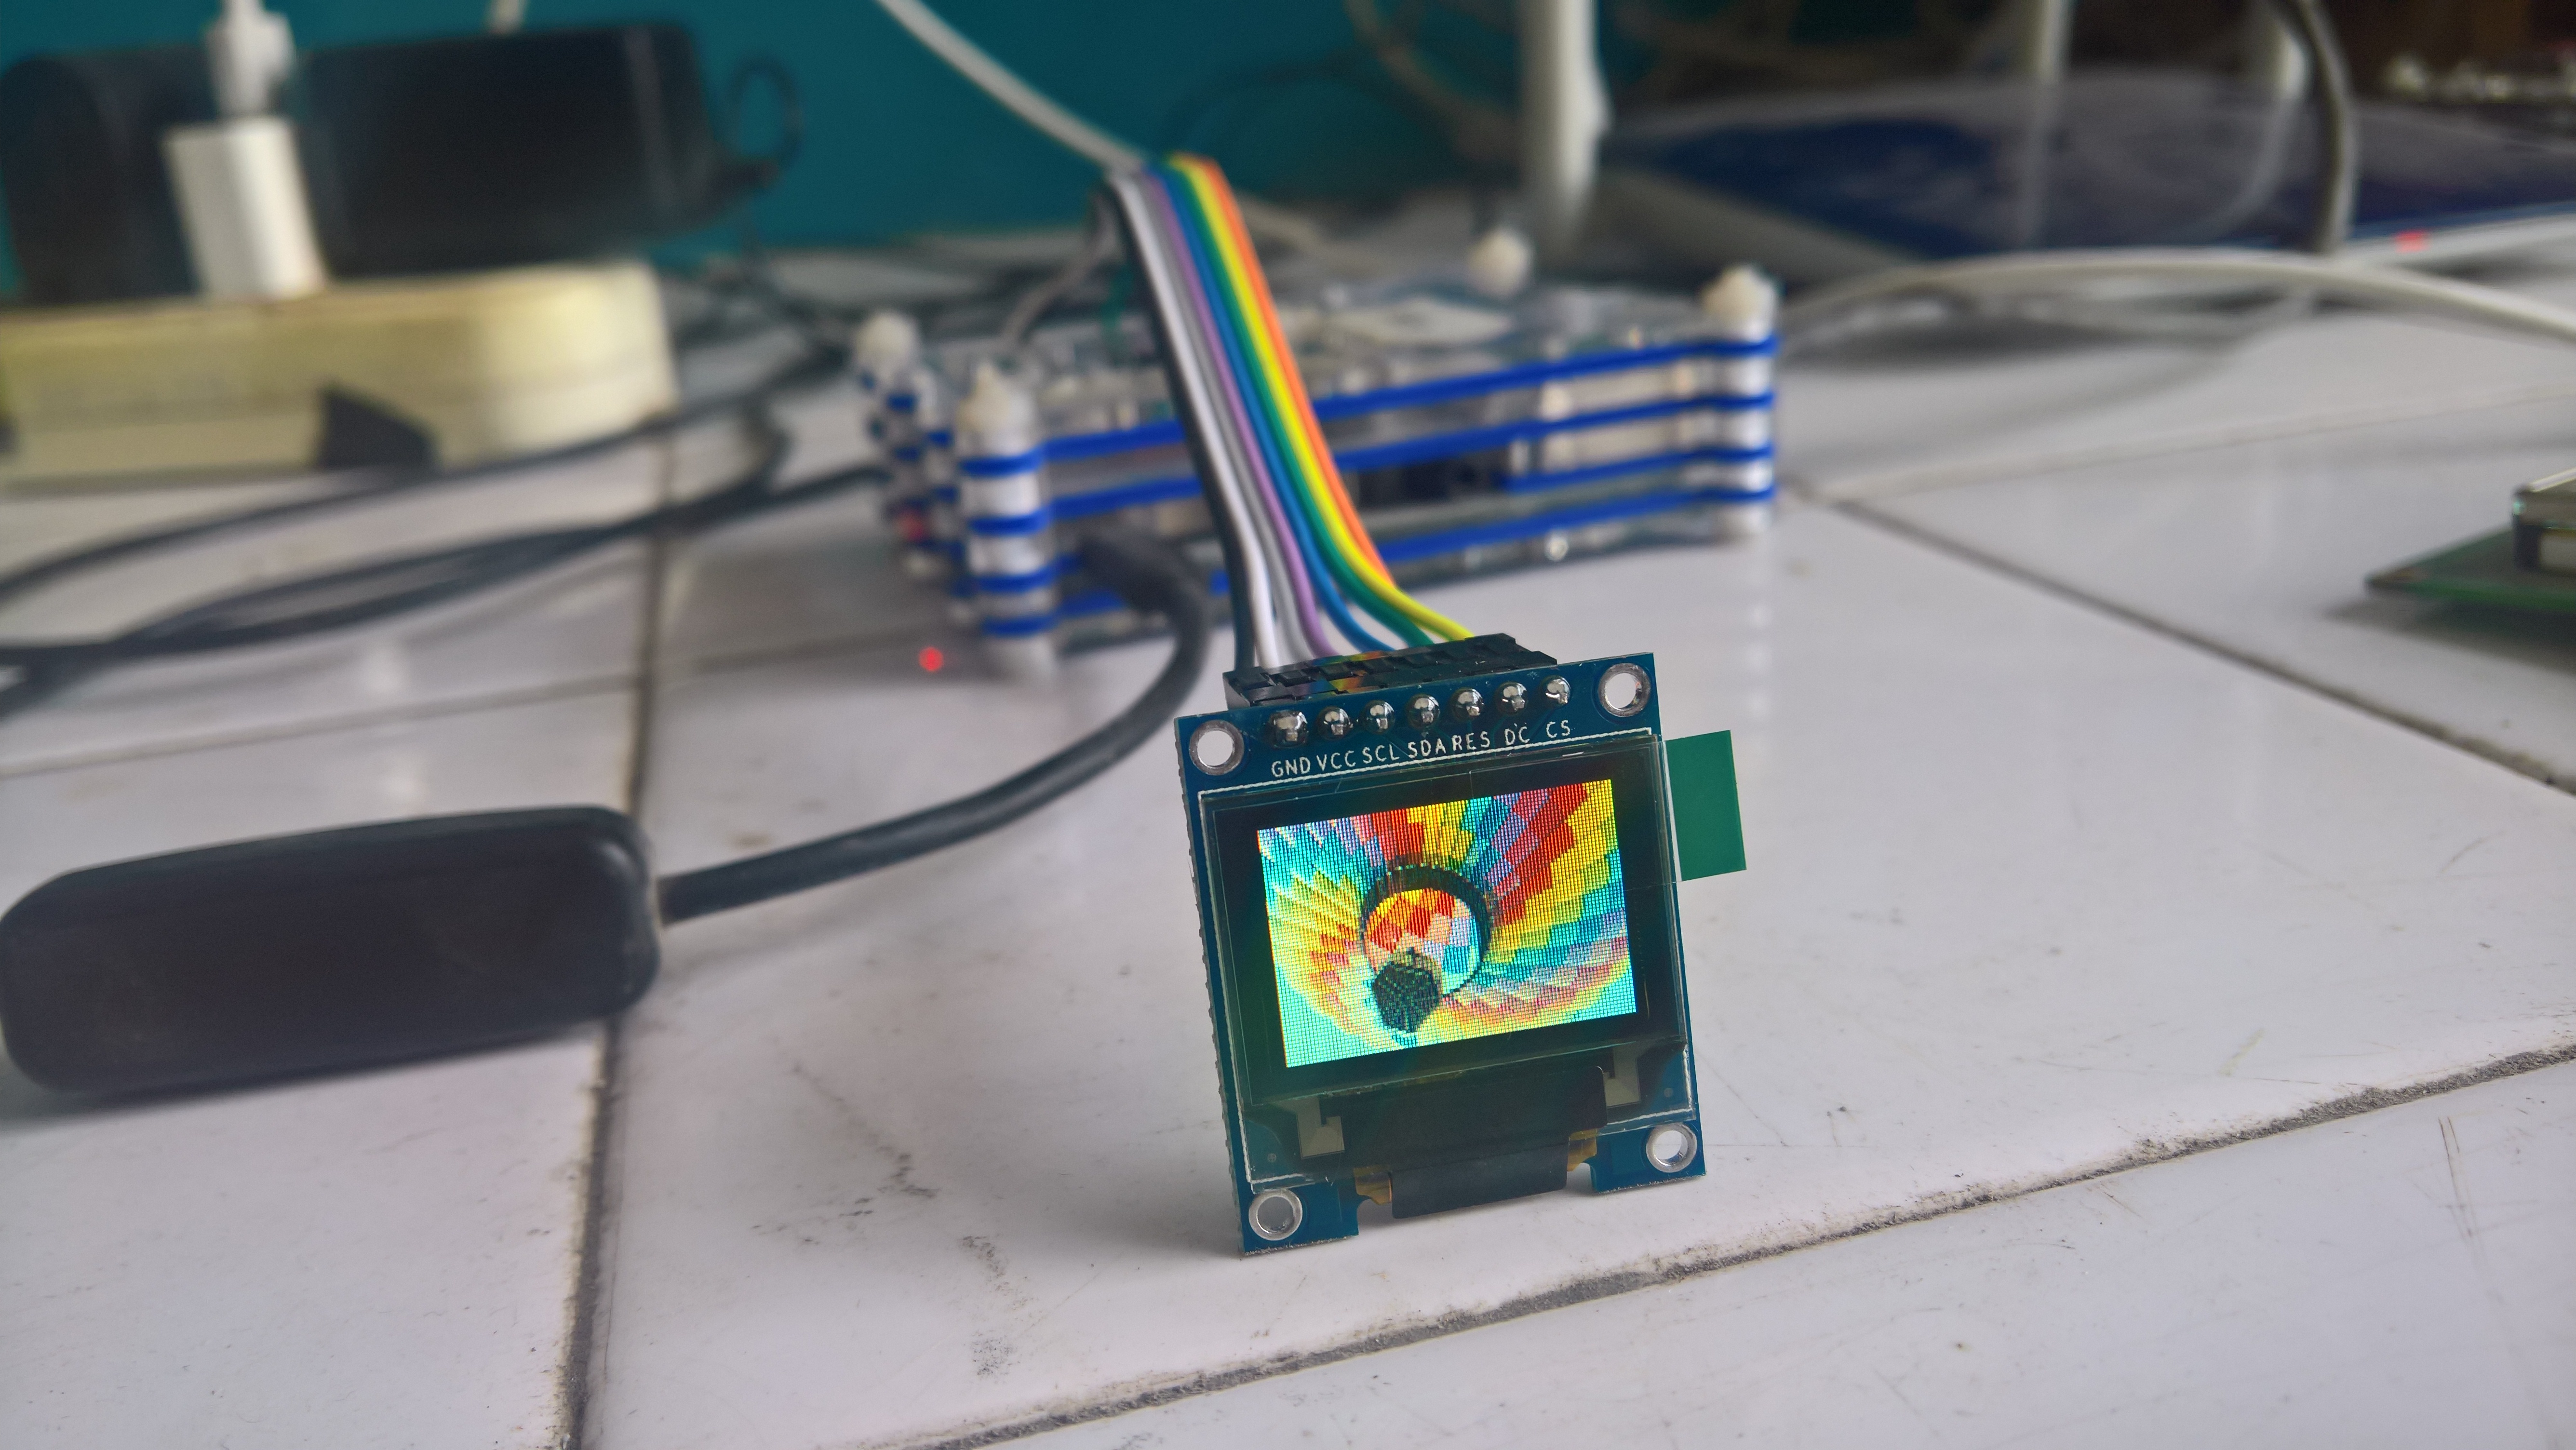
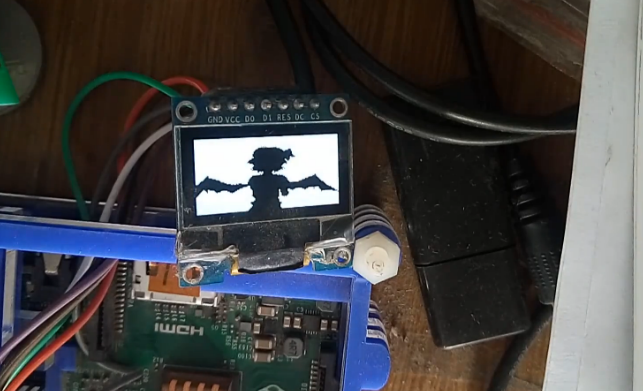
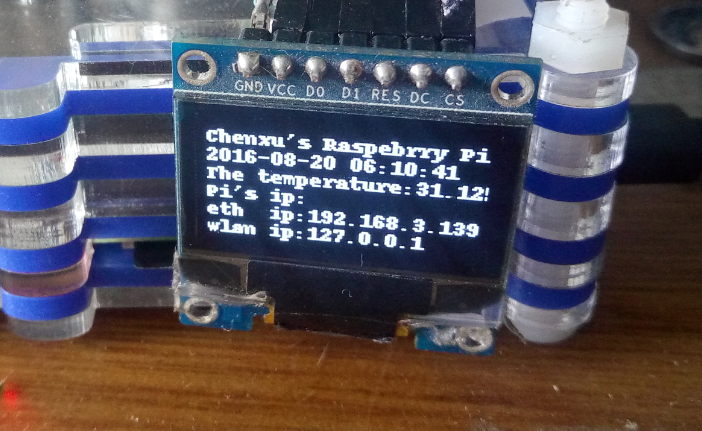
先看看效果图:
这个功能和某宝上的“CPU Info”差不多啊。。。(黑粗翔
下面开始教程:
0x00、硬件连接√:
照例,贴一张树莓的针脚分布图:
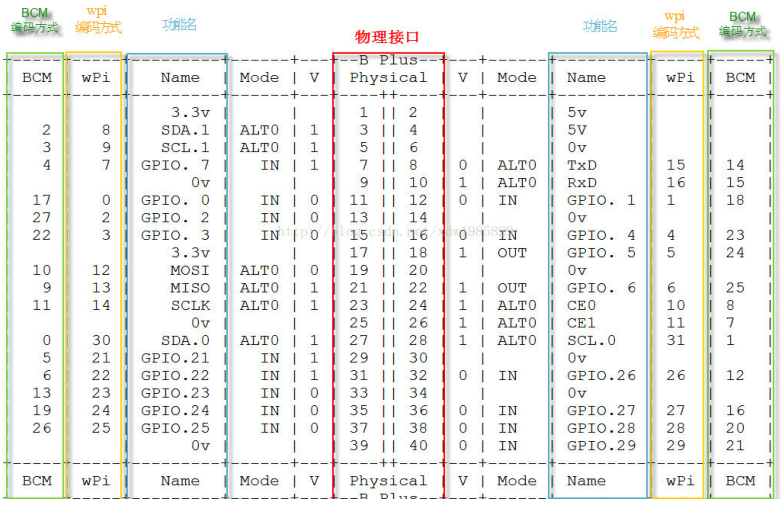
按照下面的来对应连接:
| GND | 任意一个0v |
| VCC | 任意一个5v/3.3v |
| D0(SCLK) | 23号物理接口 |
| D1(MOSI) | 19号物理接口 |
| RST | 11号物理接口 |
| DC(数据与命令选择) | 13号物理接口 |
| CS(SPI 片选) | 24号物理接口 |
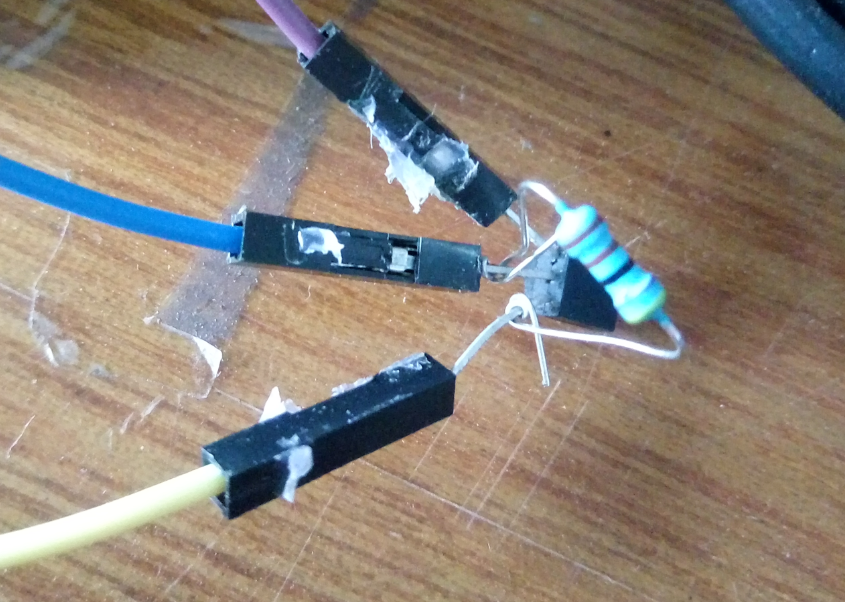
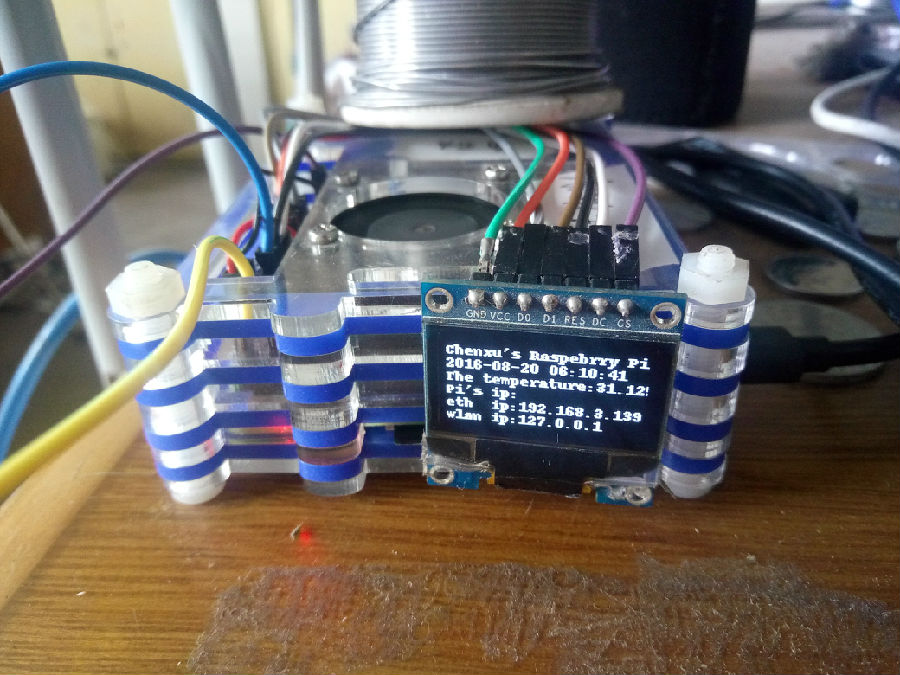
最好整齐的连上,下图是错误的示范:
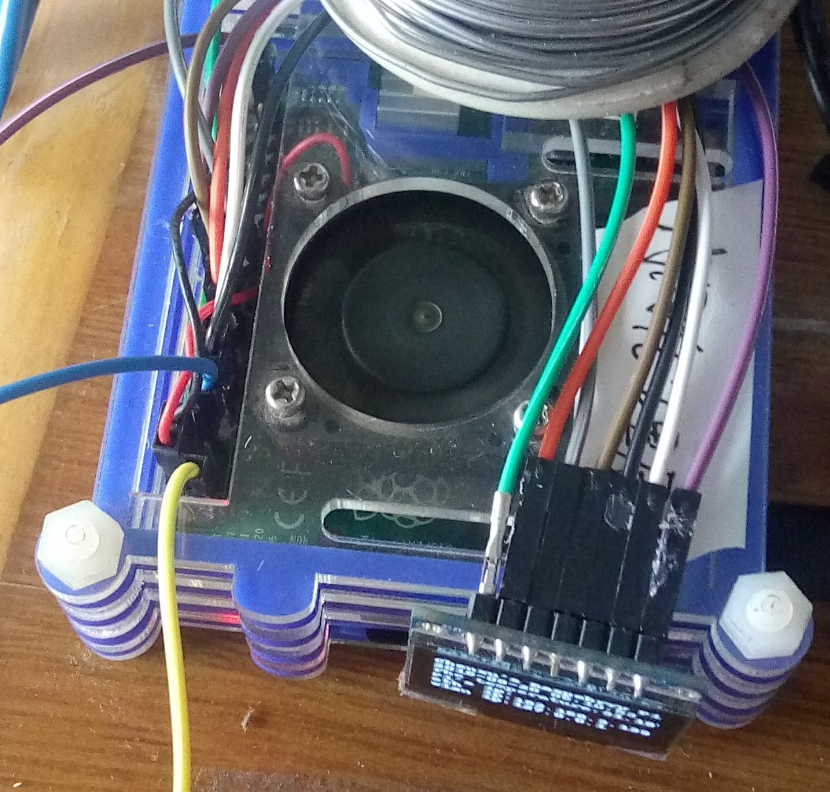
请大家不要连的像我的一样这么杂乱(笑
0x01、启动SPI服务
在树莓开机后输入命令:
sudo raspi-config
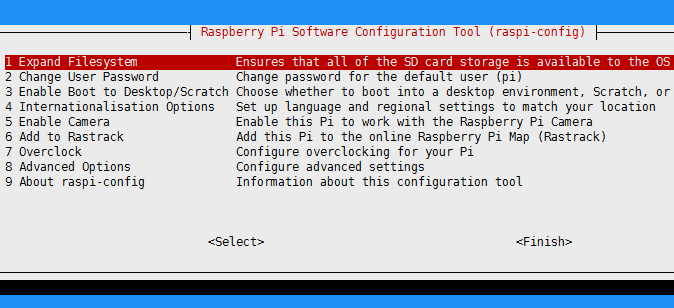
选“Advanced Options”这一项,找到“SPI”和“I2C”,开启就好。
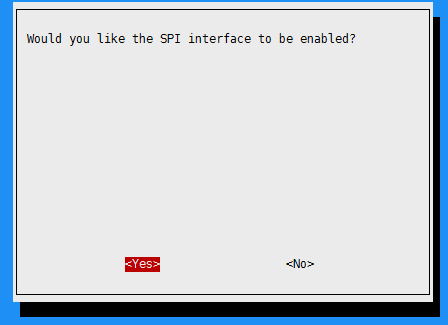
然后重启树莓派:
sudo reboot
重启后运行指令:
cd /dev
ls -al
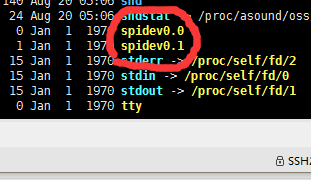
如果你看到了这两项,就说明刚才的设置成功了:
0x02、安装SPI屏幕的库:
先安装必要组件:
sudo apt-get update
sudo apt-get install build-essential python-dev python-pip
sudo pip install RPi.GPIO
sudo apt-get install python-imaging python-smbus
sudo apt-get install git
然后,将SPI屏驱动函数的库下载下来:
cd ~
git clone https://git.oschina.net/chenxuuu/Adafruit_Python_SSD1306.git
#这里我换成了国内源,为的是速度快一些,原地址:https://github.com/adafruit/Adafruit_Python_SSD1306.git
安装Python的SPI驱动模块:
cd Adafruit_Python_SSD1306
sudo python setup.py install
0x03、测试程序:
测试Python代码如下:
#!/usr/bin/python/
# coding: utf-8
import time
import Adafruit_GPIO.SPI as SPI
import Adafruit_SSD1306
import Image
import ImageDraw
import ImageFont

# Raspberry Pi pin configuration:
RST = 17
# Note the following are only used with SPI:
DC = 27
SPI_PORT = 0
SPI_DEVICE = 0

# 128x64 display with hardware SPI:
disp = Adafruit_SSD1306.SSD1306_128_64(rst=RST, dc=DC, spi=SPI.SpiDev(SPI_PORT, SPI_DEVICE, max_speed_hz=8000000))

# Initialize library.
disp.begin()

# Clear display.
disp.clear()
disp.display()

# Create blank image for drawing.
# Make sure to create image with mode '1' for 1-bit color.
width = disp.width
height = disp.height
image = Image.new('1', (width, height))

# Get drawing object to draw on image.
draw = ImageDraw.Draw(image)

# Draw a black filled box to clear the image.
draw.rectangle((0,0,width,height), outline=0, fill=0)

# Draw some shapes.
# First define some constants to allow easy resizing of shapes.
padding = 1
top = padding
x = padding
# Load default font.
font = ImageFont.load_default()

# Alternatively load a TTF font.
# Some other nice fonts to try: http://www.dafont.com/bitmap.php
#font = ImageFont.truetype('Minecraftia.ttf', 8)

# Write two lines of text.
draw.text((x, top), 'This is first line', font=font, fill=255)
draw.text((x, top+10), 'This is second line', font=font, fill=255)
draw.text((x, top+20), 'This is third line', font=font, fill=255)
draw.text((x, top+30), 'This is fourth line', font=font, fill=255)
draw.text((x, top+40), 'This is fifth line', font=font, fill=255)
draw.text((x, top+50), 'This is last line', font=font, fill=255)

# Display image.
disp.image(image)
disp.display()
至于我用的代码,我也给大家贴出来:
#!/usr/bin/python/
# coding: utf-8
import time
import Adafruit_GPIO.SPI as SPI
import Adafruit_SSD1306
import Image
import ImageDraw
import ImageFont

import socket
import fcntl
import struct
def get_ip_address(ifname):
    s = socket.socket(socket.AF_INET, socket.SOCK_DGRAM)
    return socket.inet_ntoa(fcntl.ioctl(
        s.fileno(),
        0x8915,  # SIOCGIFADDR
        struct.pack('256s', ifname[:15])
    )[20:24])


while True:

	# 打开温度传感器文件
	tfile = open("/sys/bus/w1/devices/28-0115a83f87ff/w1_slave")
	# 读取文件所有内容
	text = tfile.read()
	# 关闭文件
	tfile.close()
	# 用换行符分割字符串成数组,并取第二行
	secondline = text.split("\n")[1]
	# 用空格分割字符串成数组,并取最后一个,即 t=23000
	temperaturedata = secondline.split(" ")[9]
	# 取 t = 后面的数值,并转换为浮点型
	temperature = float(temperaturedata[2:])
	# 转换单位为摄氏度
	temperature = temperature / 1000

	# Raspberry Pi pin configuration:
	RST = 17
	# Note the following are only used with SPI:
	DC = 27
	SPI_PORT = 0
	SPI_DEVICE = 0

	# 128x64 display with hardware SPI:
	disp = Adafruit_SSD1306.SSD1306_128_64(rst=RST, dc=DC, spi=SPI.SpiDev(SPI_PORT, SPI_DEVICE, max_speed_hz=8000000))

	# Initialize library.
	disp.begin()

	# Clear display.
	disp.clear()
	disp.display()

	# Create blank image for drawing.
	# Make sure to create image with mode '1' for 1-bit color.
	width = disp.width
	height = disp.height
	image = Image.new('1', (width, height))

	# Get drawing object to draw on image.
	draw = ImageDraw.Draw(image)

	# Draw a black filled box to clear the image.
	draw.rectangle((0,0,width,height), outline=0, fill=0)

	# Draw some shapes.
	# First define some constants to allow easy resizing of shapes.
	padding = 1
	top = padding
	x = padding
	# Load default font.
	font = ImageFont.load_default()

	# Alternatively load a TTF font.
	# Some other nice fonts to try: http://www.dafont.com/bitmap.php
	#font = ImageFont.truetype('Minecraftia.ttf', 8)

	# Write two lines of text.
	draw.text((x, top), "Chenxu's Raspebrry Pi", font=font, fill=255)
	draw.text((x, top+10), time.strftime("%Y-%m-%d %H:%M:%S",time.localtime(time.time())), font=font, fill=255)
	draw.text((x, top+20), 'The temperature:' + str(temperature), font=font, fill=255)
	draw.text((x, top+30), "Pi's ip:", font=font, fill=255)
	draw.text((x, top+40), 'eth  ip:'+ get_ip_address('eth0'), font=font, fill=255)
	draw.text((x, top+50), 'wlan ip:'+ get_ip_address('lo'), font=font, fill=255)

	# Display image.
	disp.image(image)
	disp.display()
	time.sleep(5)
教程完毕√
更新:
加了个显示内存占用的功能,代码如下
#!/usr/bin/python/
# coding: utf-8
from __future__ import print_function
from collections import OrderedDict

import time
import Adafruit_GPIO.SPI as SPI
import Adafruit_SSD1306
import Image
import ImageDraw
import ImageFont

import socket
import fcntl
import struct
def get_ip_address(ifname):
    s = socket.socket(socket.AF_INET, socket.SOCK_DGRAM)
    return socket.inet_ntoa(fcntl.ioctl(
        s.fileno(),
        0x8915,  # SIOCGIFADDR
        struct.pack('256s', ifname[:15])
    )[20:24])

def meminfo():
    meminfo = OrderedDict()
    with open('/proc/meminfo') as f:
        for line in f:
            meminfo[line.split(':')[0]] = line.split(':')[1].strip()
    return (format(meminfo['MemFree']) + '/' + format(meminfo['MemTotal']))

while True:

	# 打开温度传感器文件
	tfile = open("/sys/bus/w1/devices/28-0115a83f87ff/w1_slave")
	# 读取文件所有内容
	text = tfile.read()
	# 关闭文件
	tfile.close()
	# 用换行符分割字符串成数组,并取第二行
	secondline = text.split("\n")[1]
	# 用空格分割字符串成数组,并取最后一个,即 t=23000
	temperaturedata = secondline.split(" ")[9]
	# 取 t = 后面的数值,并转换为浮点型
	temperature = float(temperaturedata[2:])
	# 转换单位为摄氏度
	temperature = temperature / 1000

	# Raspberry Pi pin configuration:
	RST = 17
	# Note the following are only used with SPI:
	DC = 27
	SPI_PORT = 0
	SPI_DEVICE = 0

	# 128x64 display with hardware SPI:
	disp = Adafruit_SSD1306.SSD1306_128_64(rst=RST, dc=DC, spi=SPI.SpiDev(SPI_PORT, SPI_DEVICE, max_speed_hz=8000000))

	# Initialize library.
	disp.begin()

	# Clear display.
	disp.clear()
	disp.display()

	# Create blank image for drawing.
	# Make sure to create image with mode '1' for 1-bit color.
	width = disp.width
	height = disp.height
	image = Image.new('1', (width, height))

	# Get drawing object to draw on image.
	draw = ImageDraw.Draw(image)

	# Draw a black filled box to clear the image.
	draw.rectangle((0,0,width,height), outline=0, fill=0)

	# Draw some shapes.
	# First define some constants to allow easy resizing of shapes.
	padding = 1
	top = padding
	x = padding
	# Load default font.
	font = ImageFont.load_default()

	# Alternatively load a TTF font.
	# Some other nice fonts to try: http://www.dafont.com/bitmap.php
	#font = ImageFont.truetype('Minecraftia.ttf', 8)

	# Write two lines of text.
	draw.text((x, top), "Chenxu's Raspebrry Pi", font=font, fill=255)
	draw.text((x, top+10), time.strftime("%Y-%m-%d %H:%M:%S",time.localtime(time.time())), font=font, fill=255)
	draw.text((x, top+20), 'The temperature:' + str(temperature), font=font, fill=255)
	draw.text((x, top+30), meminfo(), font=font, fill=255)
	draw.text((x, top+40), 'eth  ip:'+ get_ip_address('eth0'), font=font, fill=255)
	draw.text((x, top+50), 'wlan ip:'+ get_ip_address('lo'), font=font, fill=255)

	# Display image.
	disp.image(image)
	disp.display()
	time.sleep(5)